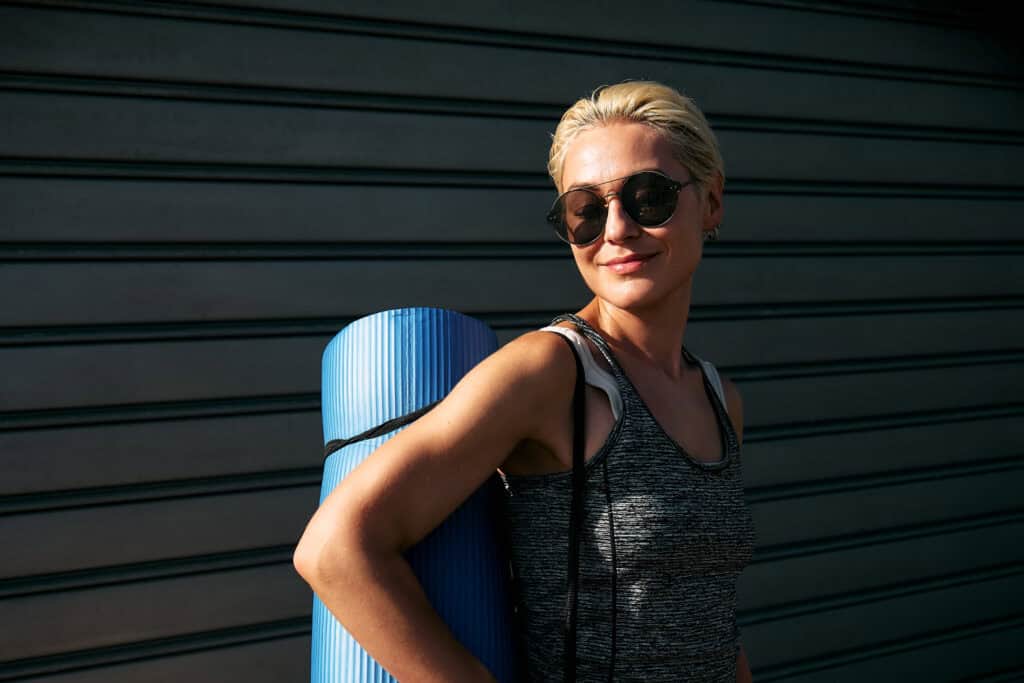
Welcome to our comprehensive Sun Salutation Guide, where we will delve into the intricacies of Surya Namaskar A and its numerous benefits. As a spiritual seeker or someone looking to improve their well-being, understanding the sun salutation sequence is crucial for an effective yoga practice.
In this guide, you will learn about the importance of breath in Surya Namaskar A and how incorporating sun salutations can enhance your overall yoga experience.
We’ll also discuss various poses such as Child’s Pose, Plank, Downward-Facing Dog, Upward Salute (Urdhva Hastasana), Forward Folds (Uttanasana and Ardha Uttanasana), Low Lunge Pose (Anjaneyasana), and completing the sequence with Adho Mukha Svanasana.
Our Sun Salutation Guide aims to provide you with valuable insights on proper alignment cues for each pose while offering modifications if needed. This ensures a safe yet challenging posture practice suitable for all levels of flexibility.
Surya Namaskar A vs B
Surya Namaskar A, also known as Sun Salutation A, is a foundational yoga sequence consisting of 12 dynamic postures, each synchronized with mindful breathing. Designed to warm up the body, cultivate mental focus, and honor the sun as a source of life and energy, Surya Namaskar A is often practiced at the beginning of a yoga session to set a positive and energized tone for the entire practice.
Surya Namaskar B, also known as Sun Salutation B, is a variation of the original Sun Salutation sequence, with a few additional postures and increased complexity. While Surya Namaskar A includes 12 postures, Surya Namaskar B consists of 17 postures, integrating Warrior I (Virabhadrasana I) and Chair Pose (Utkatasana) into the flow. This variation offers a more vigorous and energizing practice, helping to build strength, flexibility, and endurance in the body while also incorporating the same mindful breathing and mental focus as Surya Namaskar A.
In this article, we will focus on the more common A version of the sun salutation.
Understanding Surya Namaskar A
Surya Namaskar A, also known as Sun Salutation A, is a series of prescribed motions that begins and ends with Tadasana (Mountain Pose). This moving meditation builds heat and happens in a rhythmic cadence aligned with your breath. It can be a complete practice in itself or prepare you for a longer asana routine.
Importance of Breath in Surya Namaskar A
In any yoga practice, proper breathing techniques are essential to maintain focus and connect with our inner selves. During Surya Namaskar A, each movement is synchronized with an inhalation or exhalation. This deepens the connection between body and mind while enhancing overall well-being.
Practicing Ujjayi Pranayama, also known as victorious breath or ocean-sounding breath, during Sun Salutations helps regulate the pace of your movements while providing additional physical and mental benefits such as increased oxygen intake, reduced stress levels, improved concentration on alignment cues.
Tips for Ujjayi Breathing:
- Inhale deeply through your nose.
- Gently constrict the back of your throat to create an audible sound similar to ocean waves crashing onshore.
- Maintain this gentle constriction throughout both inhales and exhales during Surya Namaskar A sequence.
Benefits of Incorporating Sun Salutations into Your Yoga Practice
Regularly practicing Surya Namaskar A offers numerous benefits for both physical and mental wellbeing. Some of the key advantages include:
- Increased Flexibility: Sun Salutations stretch various muscle groups, including hamstrings, calves, shoulders, and spine. This improves overall flexibility and reduces the risk of injury during other physical activities.
- Muscle Strengthening: The sequence engages multiple muscles throughout your body, such as core stabilizers, upper body muscles in the Plank pose, and leg muscles in the Low Lunge pose. This helps build strength while promoting balance.
- Better Posture: As you move through each posture with proper alignment cues (discussed later), you will develop a better awareness of your body positioning, improving your posture over time.
- Mental Clarity & Stress Reduction: Focusing on breath synchronization during Sun Salutations lets us quiet our minds by bringing inward attention. This leads to increased mental clarity and reduced stress levels.
Incorporating Surya Namaskar A into your daily routine can significantly improve overall health and well-being. To learn more about this powerful practice or deepen your understanding further, consider attending a local yoga class or exploring online resources like Yoga Journal’s Beginner’s Guide to Sun Salutation.
Surya Namaskar A holds a special place in yoga, and comprehending its value can maximize the potential of your practice. Moving on from here, let’s explore how to properly perform Child’s Pose as a way to begin your practice with intention.
Starting Your Practice with Child’s Pose
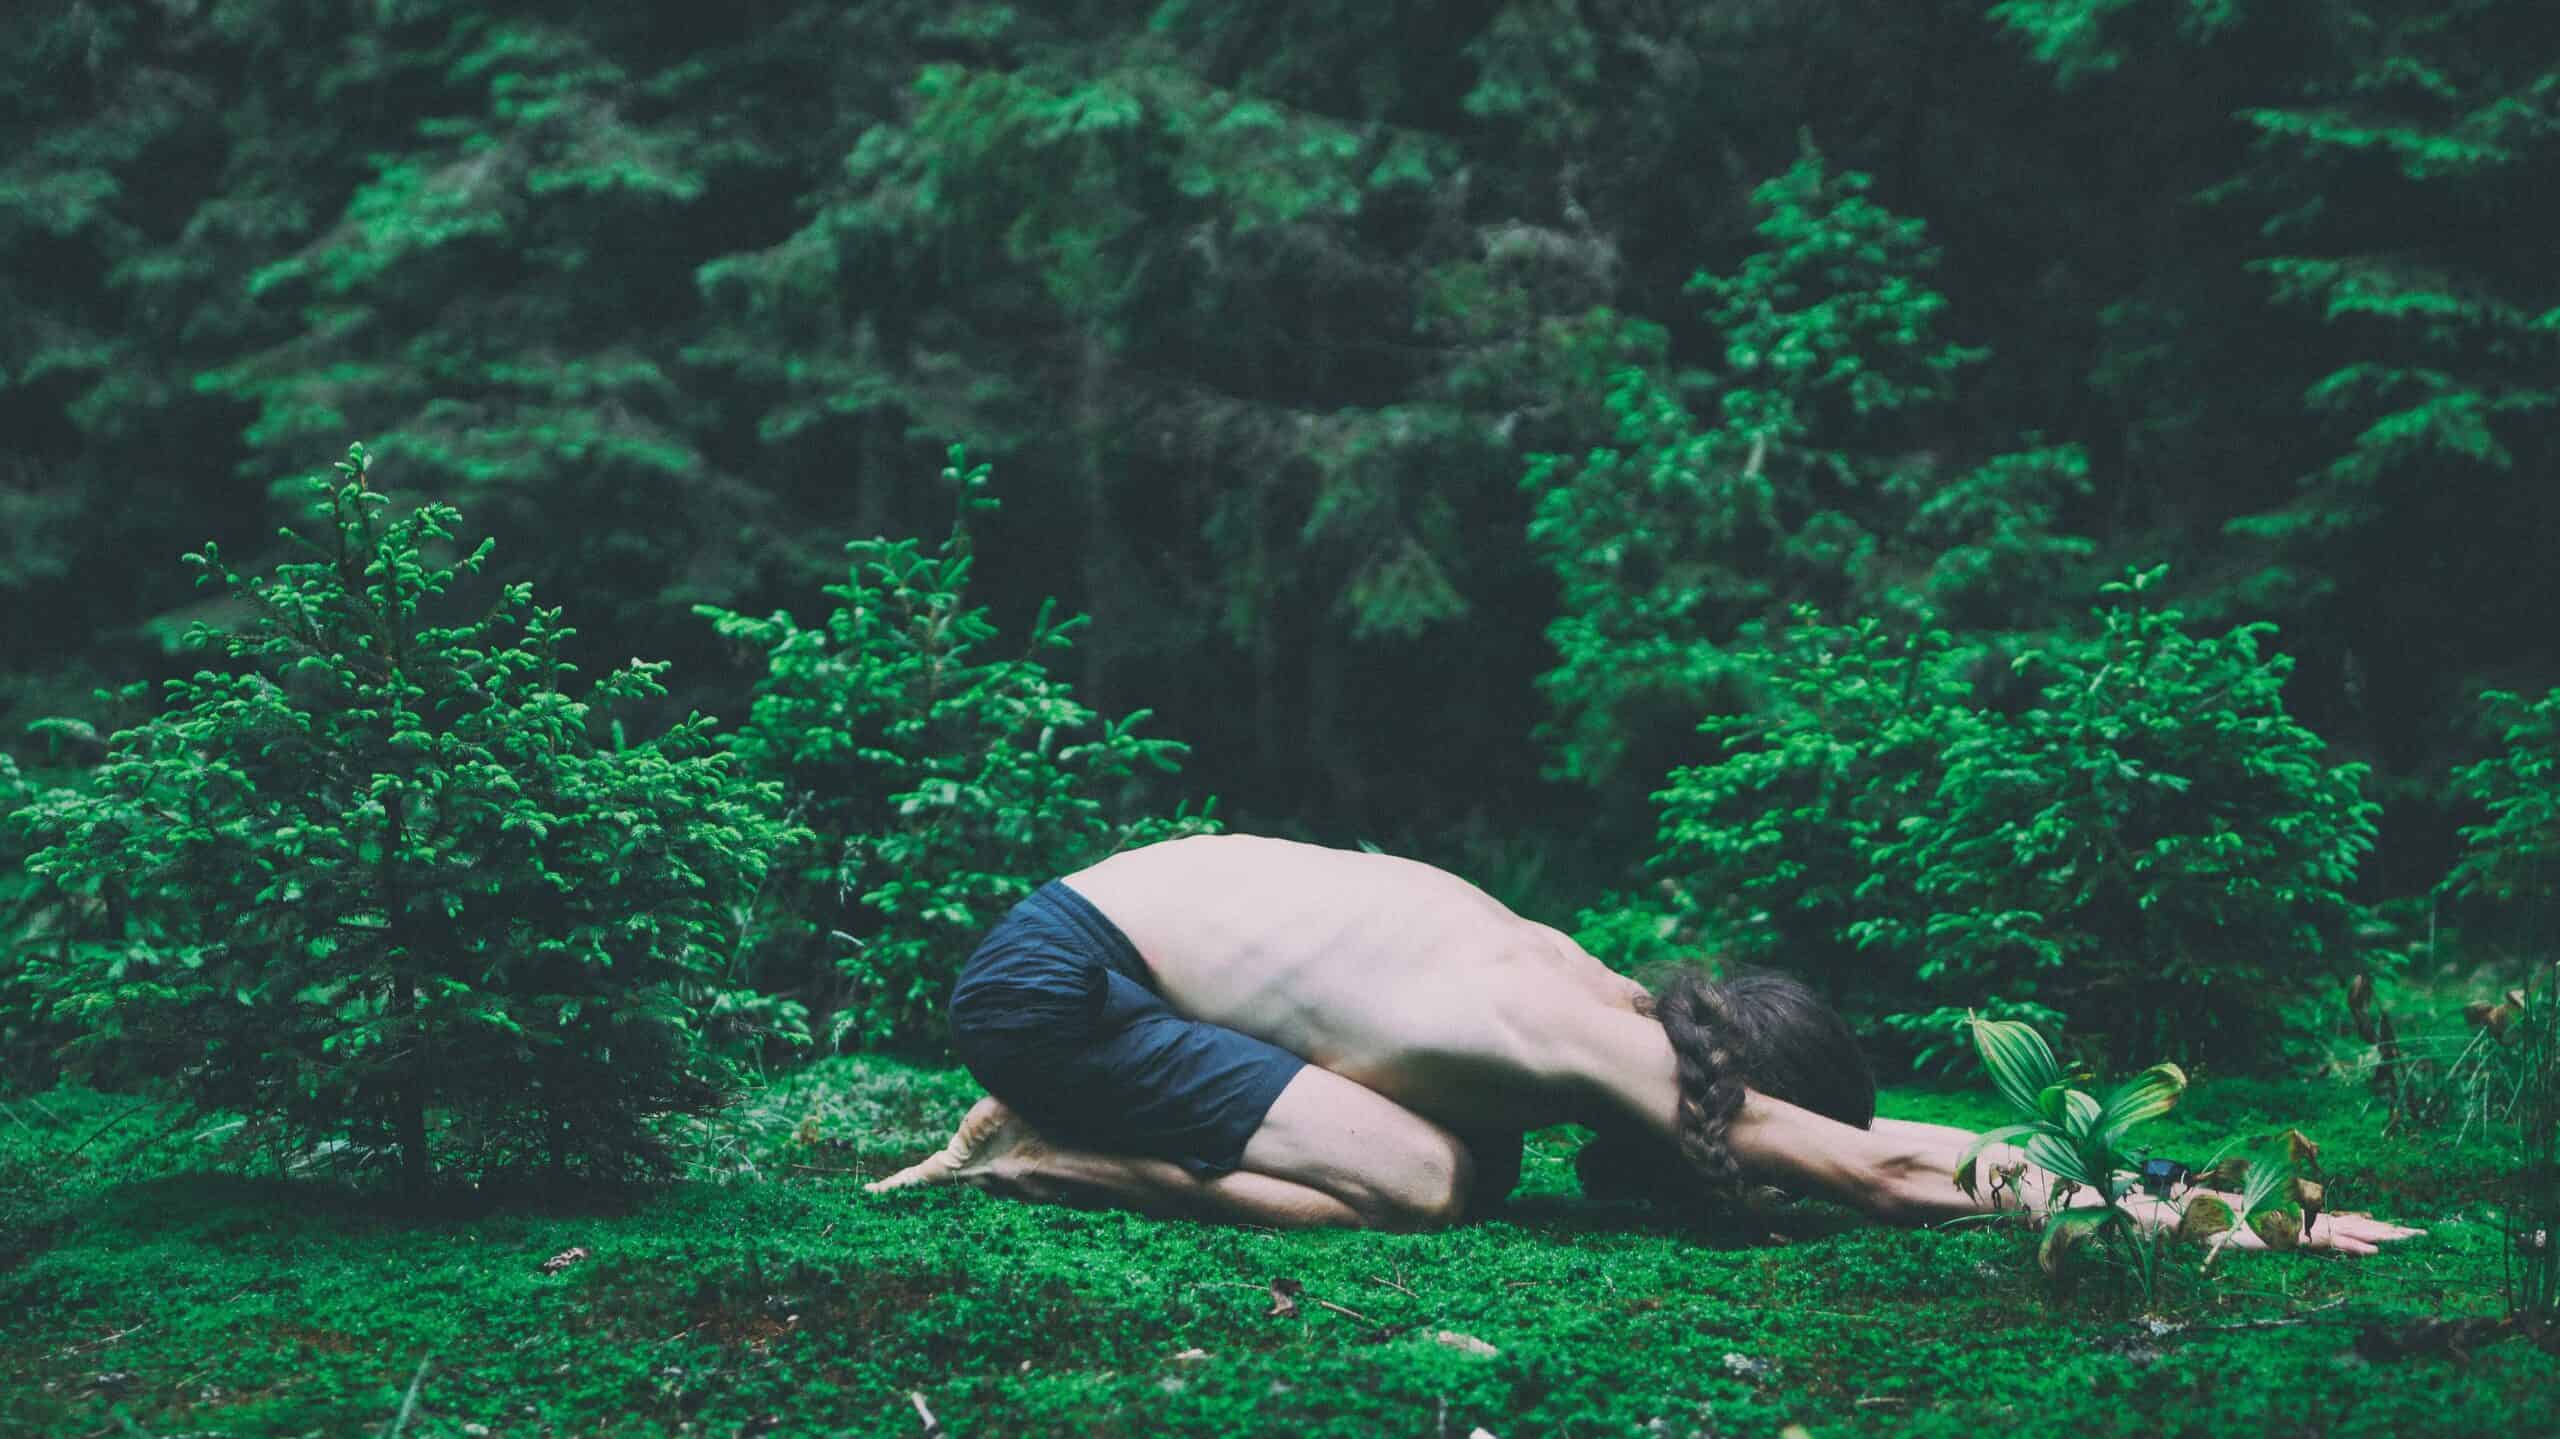
Begin your Surya Namaskar A sequence by grounding yourself in Child’s Pose. This posture allows you to connect with your breath, set an intention for the practice, and gently stretch the hips and lower back before transitioning into more active poses.
How to Properly Perform Child’s Pose
To get into Child’s pose, follow these simple steps:
- Kneel on your mat with knees hip-width apart and big toes touching.
- Sit back onto your heels while keeping your feet together.
- Inhale deeply as you lengthen through your spine; exhale as you fold forward from hips, allowing your chest to rest between thighs or on top of them if more comfortable.
- Extend your arms out in front of you or alongside your body with palms facing down. Rest your forehead on a mat or use a folded blanket for support if needed.
- Breathe deeply and evenly throughout the pose; hold for several breaths before moving on to the next posture in sequence.
Yoga Journal provides a detailed guide on performing Child’s Pose correctly and explains some common misalignments that can be avoided during practice.
Setting Intentions for Your Yoga Practice
An important aspect of any yoga session is setting an intention at its beginning. An intention can be anything from cultivating gratitude or self-love to focusing on relaxation or improving flexibility. Establishing a clear purpose before starting your practice can create a more mindful and focused experience.
Here are some tips for setting intentions:
- Take a few moments in Child’s Pose to quiet your mind and connect with your breath.
- Reflect on what you want to achieve or cultivate during this practice- physical, mental, emotional, or spiritual growth.
- Silently repeat your intention to yourself several times as an affirmation; visualize how achieving this goal will positively impact your life.
Learn more about the power of intention-setting in yoga practices and how it can enhance both on- and off-the-mat experiences. Remember that every yoga session is unique – by starting each one with Child’s Pose and setting an intention, you pave the way for a meaningful journey towards wellness.
Completing Child’s Pose is a great way to start your yoga practice, allowing you to set intentions and relax into the poses. Transitioning from Plank pose to Downward-Facing Dog requires proper form and technique; mastering this transition will help improve your overall yoga practice.
Transitioning from Plank to Downward-Facing Dog
After establishing a strong foundation through mindful breathing in Child’s Pose, it is time to transition into more active poses. The next step in your Surya Namaskar A sequence involves moving from Plank pose, which resembles the top of a push-up, to Downward-Facing Dog. These postures help build strength while maintaining focus on alignment and breath control.
Proper Form for Plank Pose
In order to perform Plank pose correctly, follow these steps:
- Come onto all fours with your hands shoulder-width apart and knees hip-width apart.
- From all fours, step back with each foot to balance on the balls of both feet and form a straight line from head to heels.
- Your body should form a straight line from head to heels. Engage your core muscles and press firmly through your palms and fingers for stability.
- Gaze down slightly forward so that the neck remains neutral with the spine. Hold this challenging posture for several breaths as you build heat within your body.
If needed, consider modifying Plank pose by dropping onto your knees or placing forearms on the mat instead of hands. Remember that proper alignment is key when practicing yoga; listen to what feels right for you.
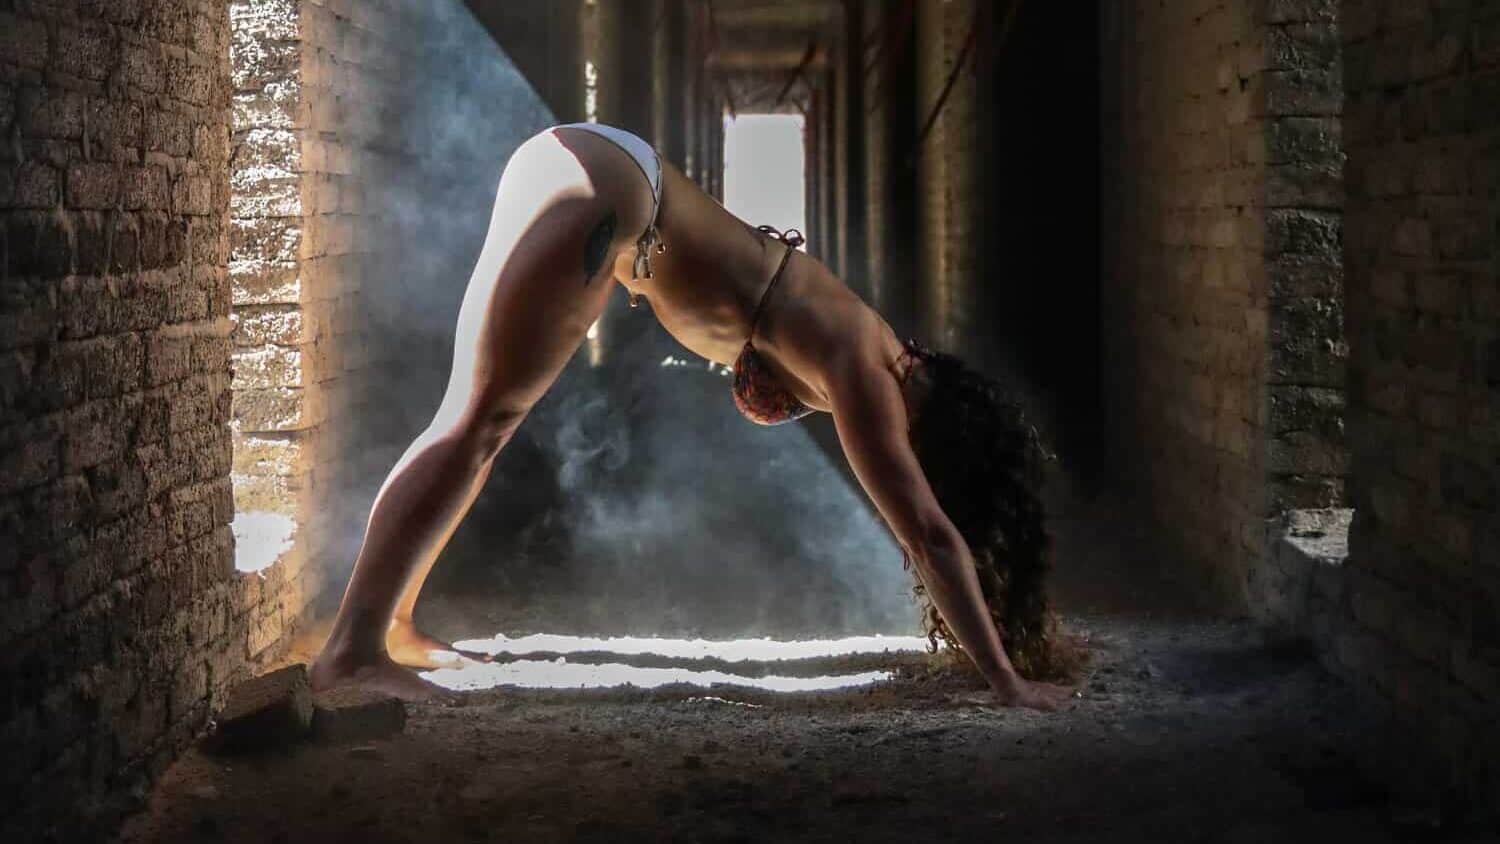
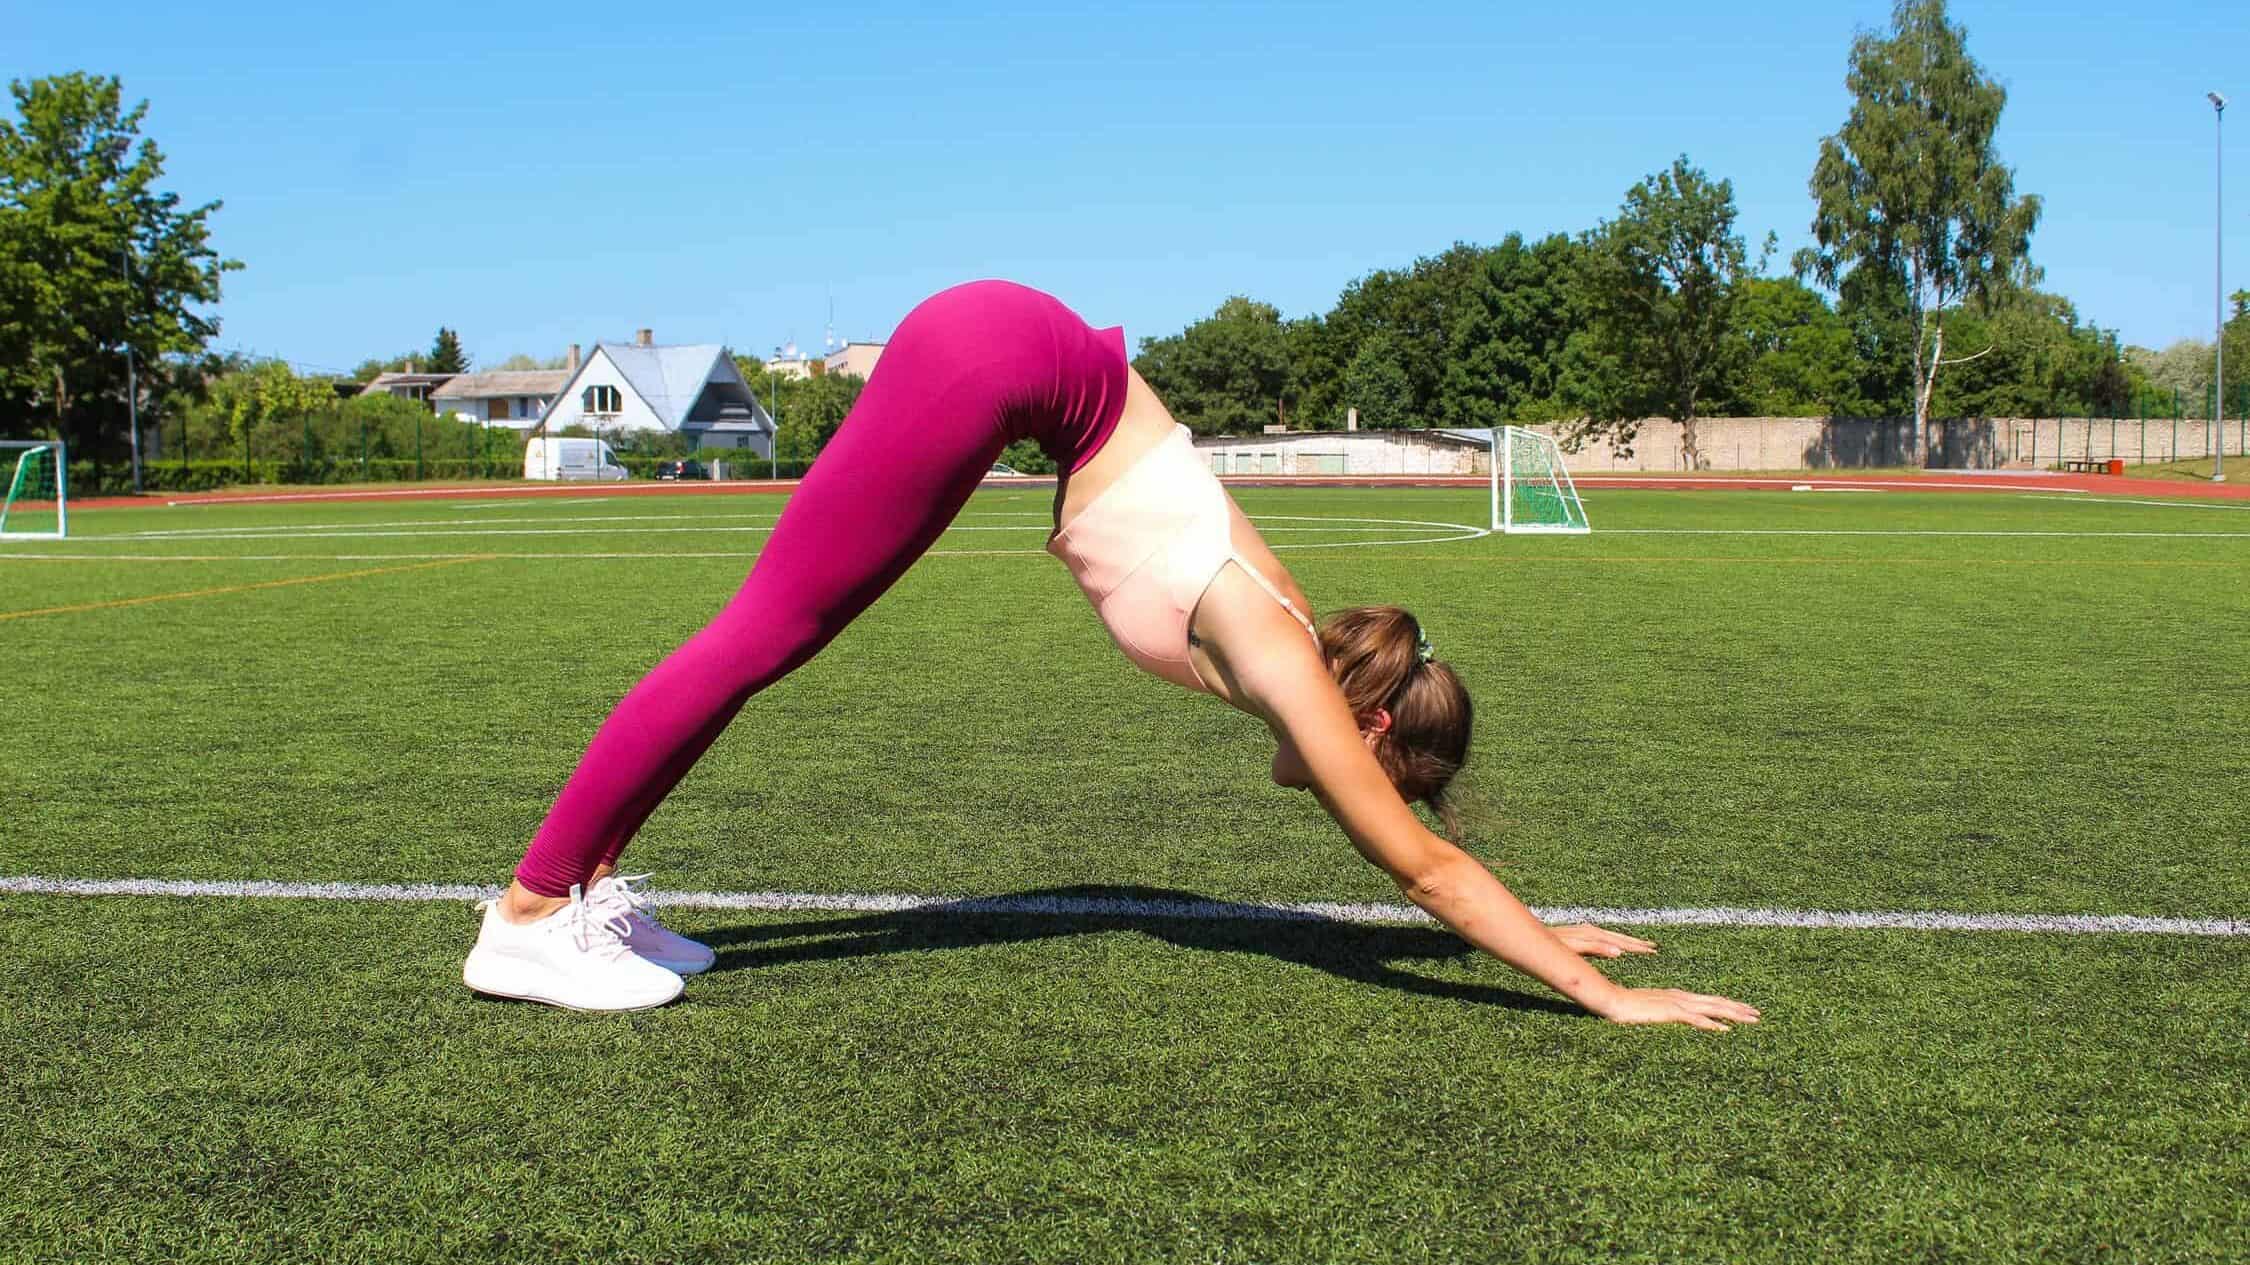
Tips for Mastering Downward-Facing Dog
To smoothly transition into Downward-Facing Dog after holding the Plank pose:
- Lift hips up towards the ceiling while pressing chest towards thighs – creating an inverted “V” shape with your body.
- Spread fingers wide and press firmly through palms, distributing weight evenly between hands and feet.
- Bend knees slightly if needed to maintain a long spine. Gently work towards straightening legs over time as flexibility increases.
Downward-Facing Dog is a foundational pose in many yoga practices; therefore, it’s essential to learn proper alignment for this posture (source). Consider practicing against a wall or using props such as blocks under your hands for additional support if needed. Remember that consistency is key when working on challenging poses – be patient with yourself.
Transitioning from Plank to Downward-Facing Dog can be a challenging but rewarding experience when done with proper form and alignment. With that in mind, the next step is mastering Urdhva Hastasana – Upward Salute, which requires focus on both physical and mental alignment cues for optimal results.
Forward Folds – Uttanasana and Ardha Uttanasana

Incorporating forward folds into your Surya Namaskar A sequence, such as Uttanasana (Standing Forward Fold) and Ardha Uttanasana (Half Standing Forward Fold), can provide numerous benefits for both the body and mind. These poses stretch the hamstrings and lower back while promoting relaxation. Let’s explore how to perform these folding postures properly.
Proper alignment in both standing forward folds
To achieve proper alignment in Uttanasana, follow these steps:
- Stand tall with feet hip-width apart, toes pointing forward.
- Bend at the hips, allowing your upper body to fold over your legs.
- If needed, maintain a slight bend in your knees to avoid straining the hamstrings or lower back.
- Allow your head to hang heavy toward the floor, releasing tension from neck muscles.
- If comfortable, grasp opposite elbows with hands or place palms on shins or ankles for support.
Ardha Uttanasana, also known as Half Standing Forward Fold is an excellent way to create length along the spine while maintaining the engagement of core muscles. To practice this pose:
- Inhale deeply as you lift your chest halfway up from the folded position of Uttanasana. Create a flat back by drawing shoulder blades together while keeping your gaze slightly ahead. You may choose to keep fingertips touching the ground beside feet or bring them onto shins for additional support.
Benefits of practicing these folding postures
Both Uttanasana and Ardha Uttanasana offer numerous benefits for your overall well-being. Some of the key advantages include:
- Improved flexibility: Regular practice of these forward folds can help increase flexibility in the hamstrings, hips, and lower back.
- Stress relief: The inverted nature of these poses encourages blood flow to the brain, calming the nervous system. This makes them ideal for relieving stress and anxiety.
- Digestive support: Folding postures like Uttanasana stimulates abdominal organs, which may aid digestion and alleviate constipation.
- Mental clarity: By focusing on breath control during these poses, you can enhance mental focus and concentration levels throughout your day.
Incorporating standing forward folds into your Surya Namaskar A sequence enhances physical flexibility and promotes mental relaxation. Remember to maintain proper alignment while practicing Uttanasana and Ardha Uttanasana to reap their full benefits.
Regularly practicing Uttanasana and Ardha Uttanasana can help improve flexibility, strength, balance, and concentration.
Moving on to Anjaneyasana – Low Lunge Pose, let’s explore the correct alignment for this posture as well as modifications that make it accessible to practitioners of all levels.
Anjaneyasana – Low Lunge Pose
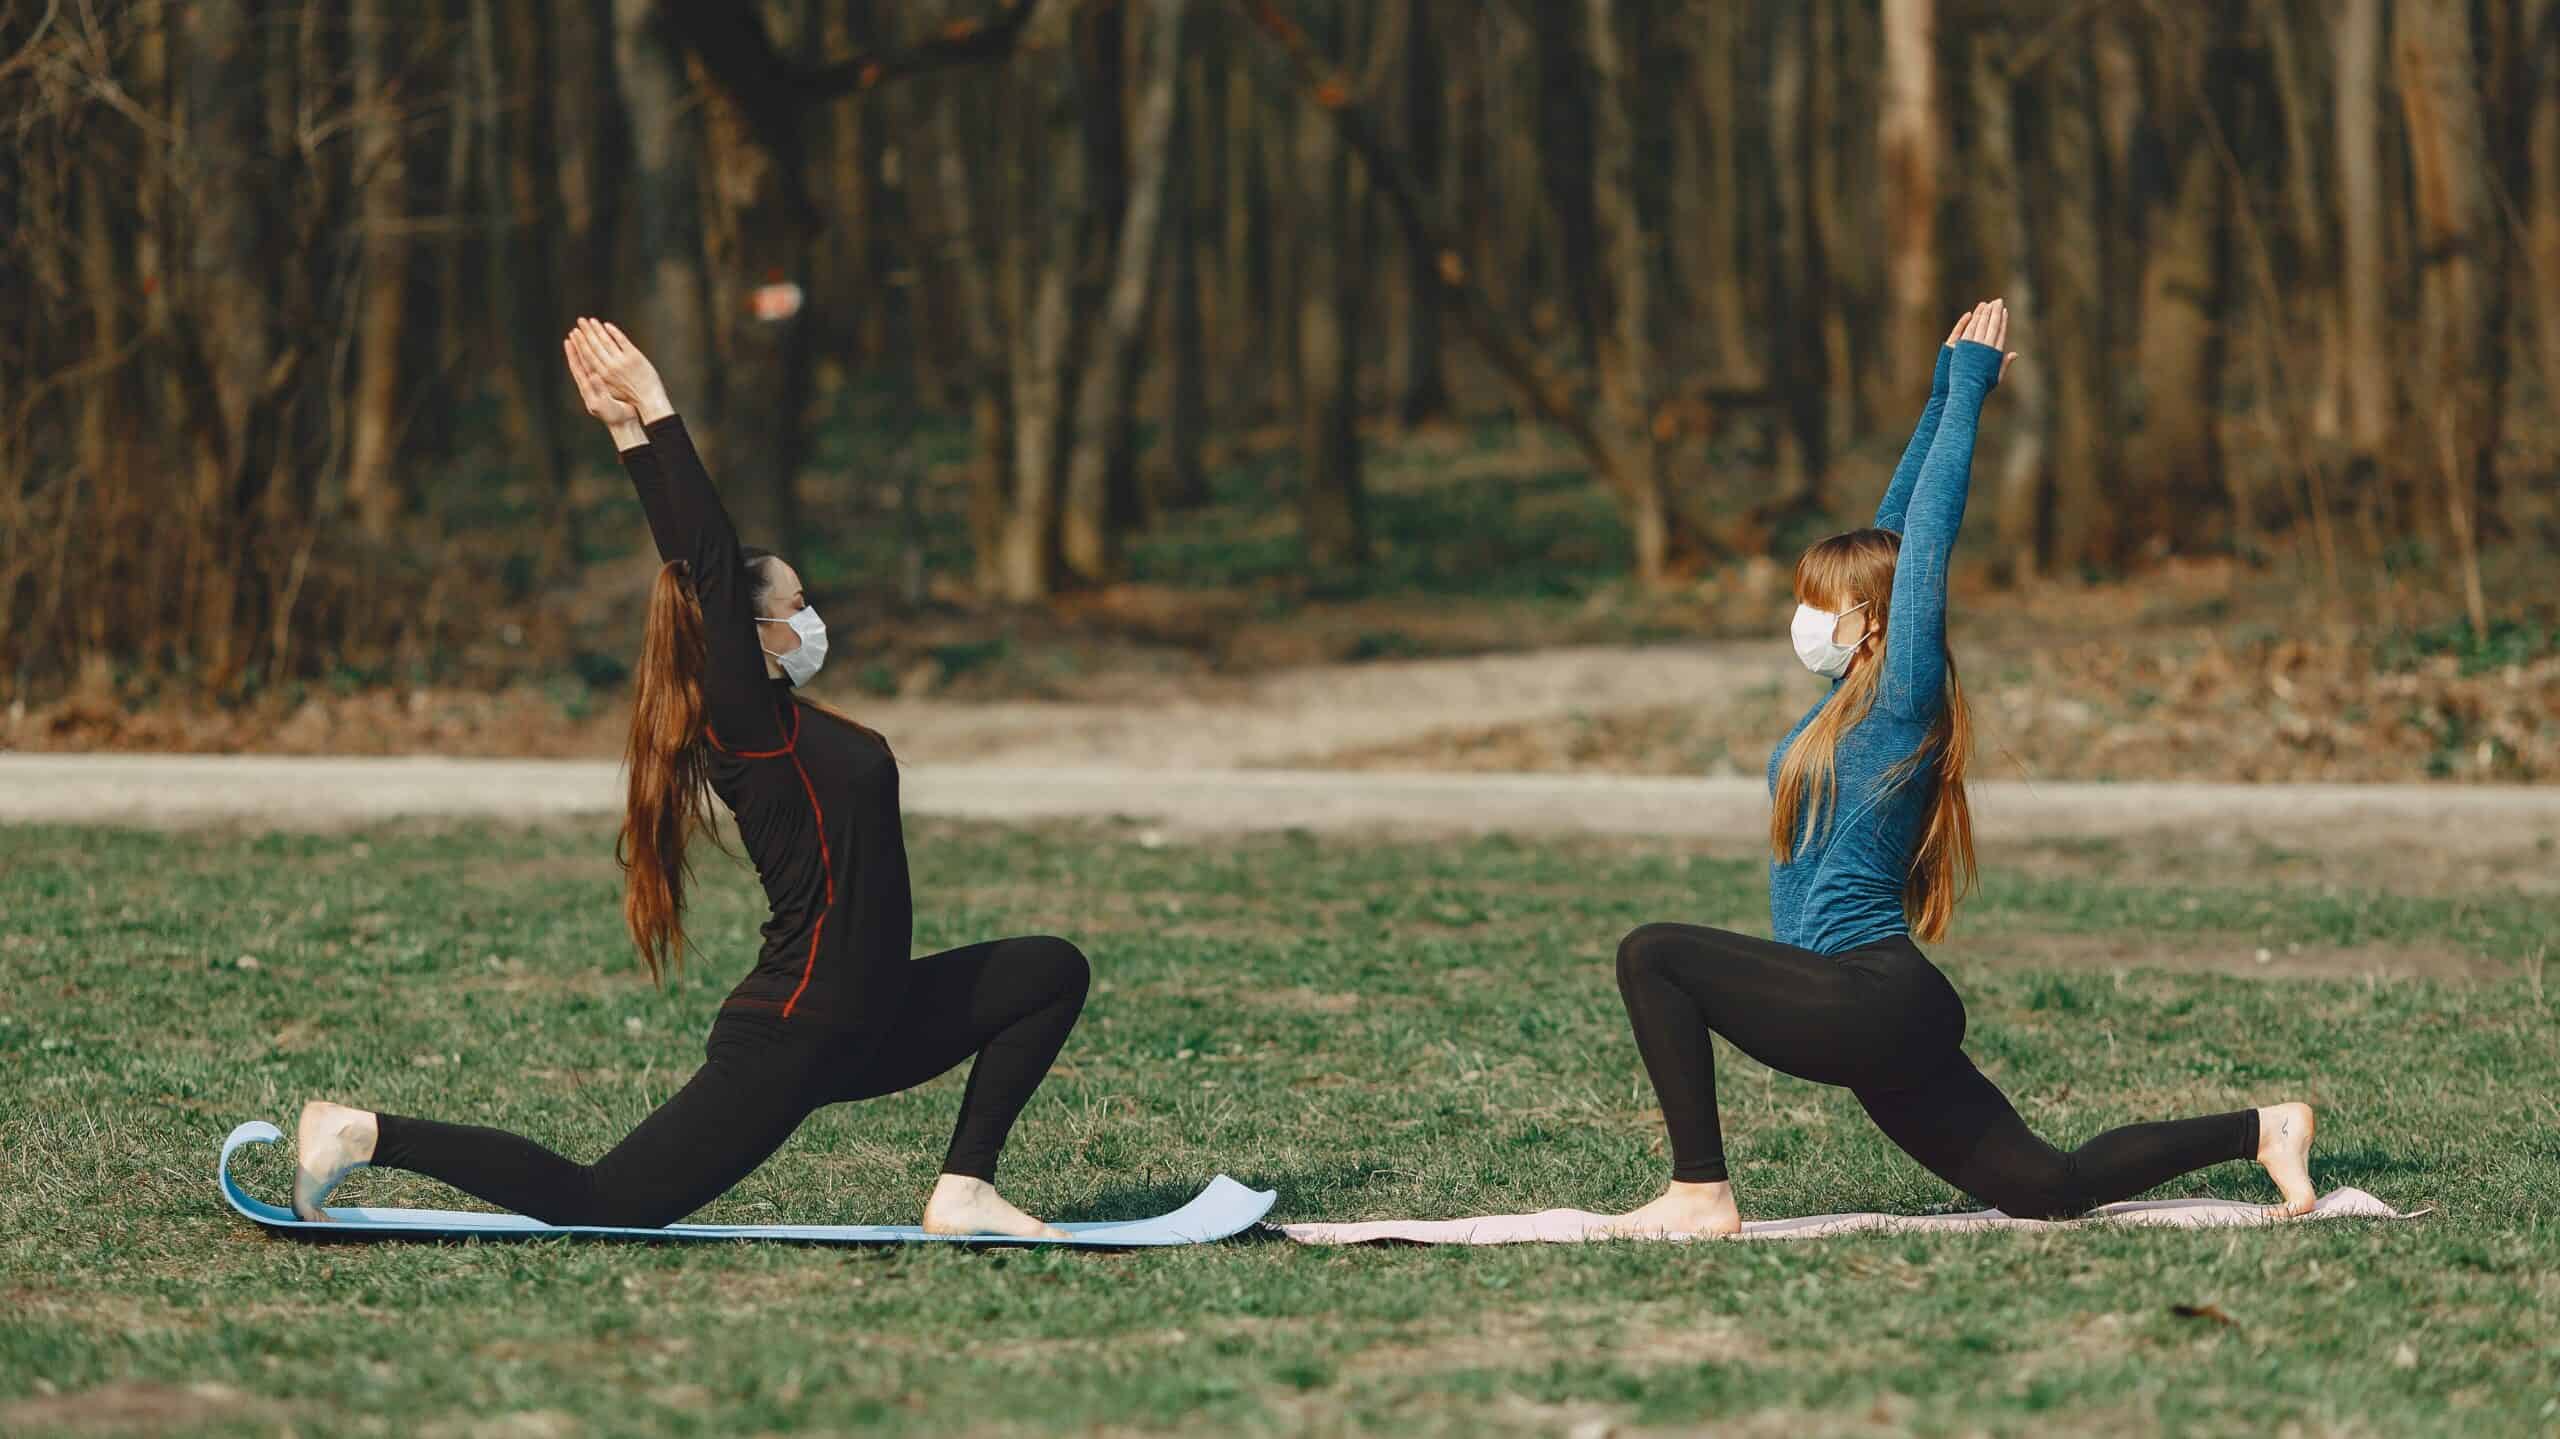
Step one foot forward between hands into Anjaneyasana or Low Lunge pose. This posture opens hip flexors, strengthens legs, and improves balance. Repeat on the other side to ensure even stretching and strengthening throughout your body.
Correct alignment for Anjaneyasana
To perform Anjaneyasana correctly, follow these steps:
- Begin in Downward-Facing Dog (Adho Mukha Svanasana).
- Inhale as you step your right foot forward between your hands.
- Lay down the back knee gently onto the mat with toes untucked.
- Raise both arms up towards the sky while keeping shoulders relaxed away from ears.
- Maintain a neutral pelvis by engaging core muscles and slightly tucking the tailbone under.
- Gently press hips forward to deepen the stretch in the left hip flexor while maintaining stability through a grounded front foot and back knee.
- Breathe deeply as you hold this pose for several breaths before switching sides.
Modifications for various levels of flexibility
If you find it challenging to maintain proper alignment in Anjaneyasana due to limited flexibility or strength, consider incorporating these modifications:
- Place a folded blanket or cushion under your back knee for added support and comfort.
- If flexibility or strength are limiting your ability to reach the floor with your hands, try using yoga blocks near your front foot for extra support.
- Lower your back knee down onto the mat and keep your toes untucked for additional stability. This modification is known as the Crescent Moon pose (Anjaneyasana Variation).
Incorporating Anjaneyasana into your Surya Namaskar A sequence can greatly enhance flexibility, strength, and balance in both body and mind. By practicing this pose regularly with proper alignment and modifications when needed, you’ll experience its full benefits while minimizing any risk of injury.
The practice of Anjaneyasana – Low Lunge Pose is an excellent way to improve balance and flexibility. By synchronizing breath with movement, completing Surya Namaskar A with Adho Mukha Svanasana can help you achieve a deeper level of meditation.
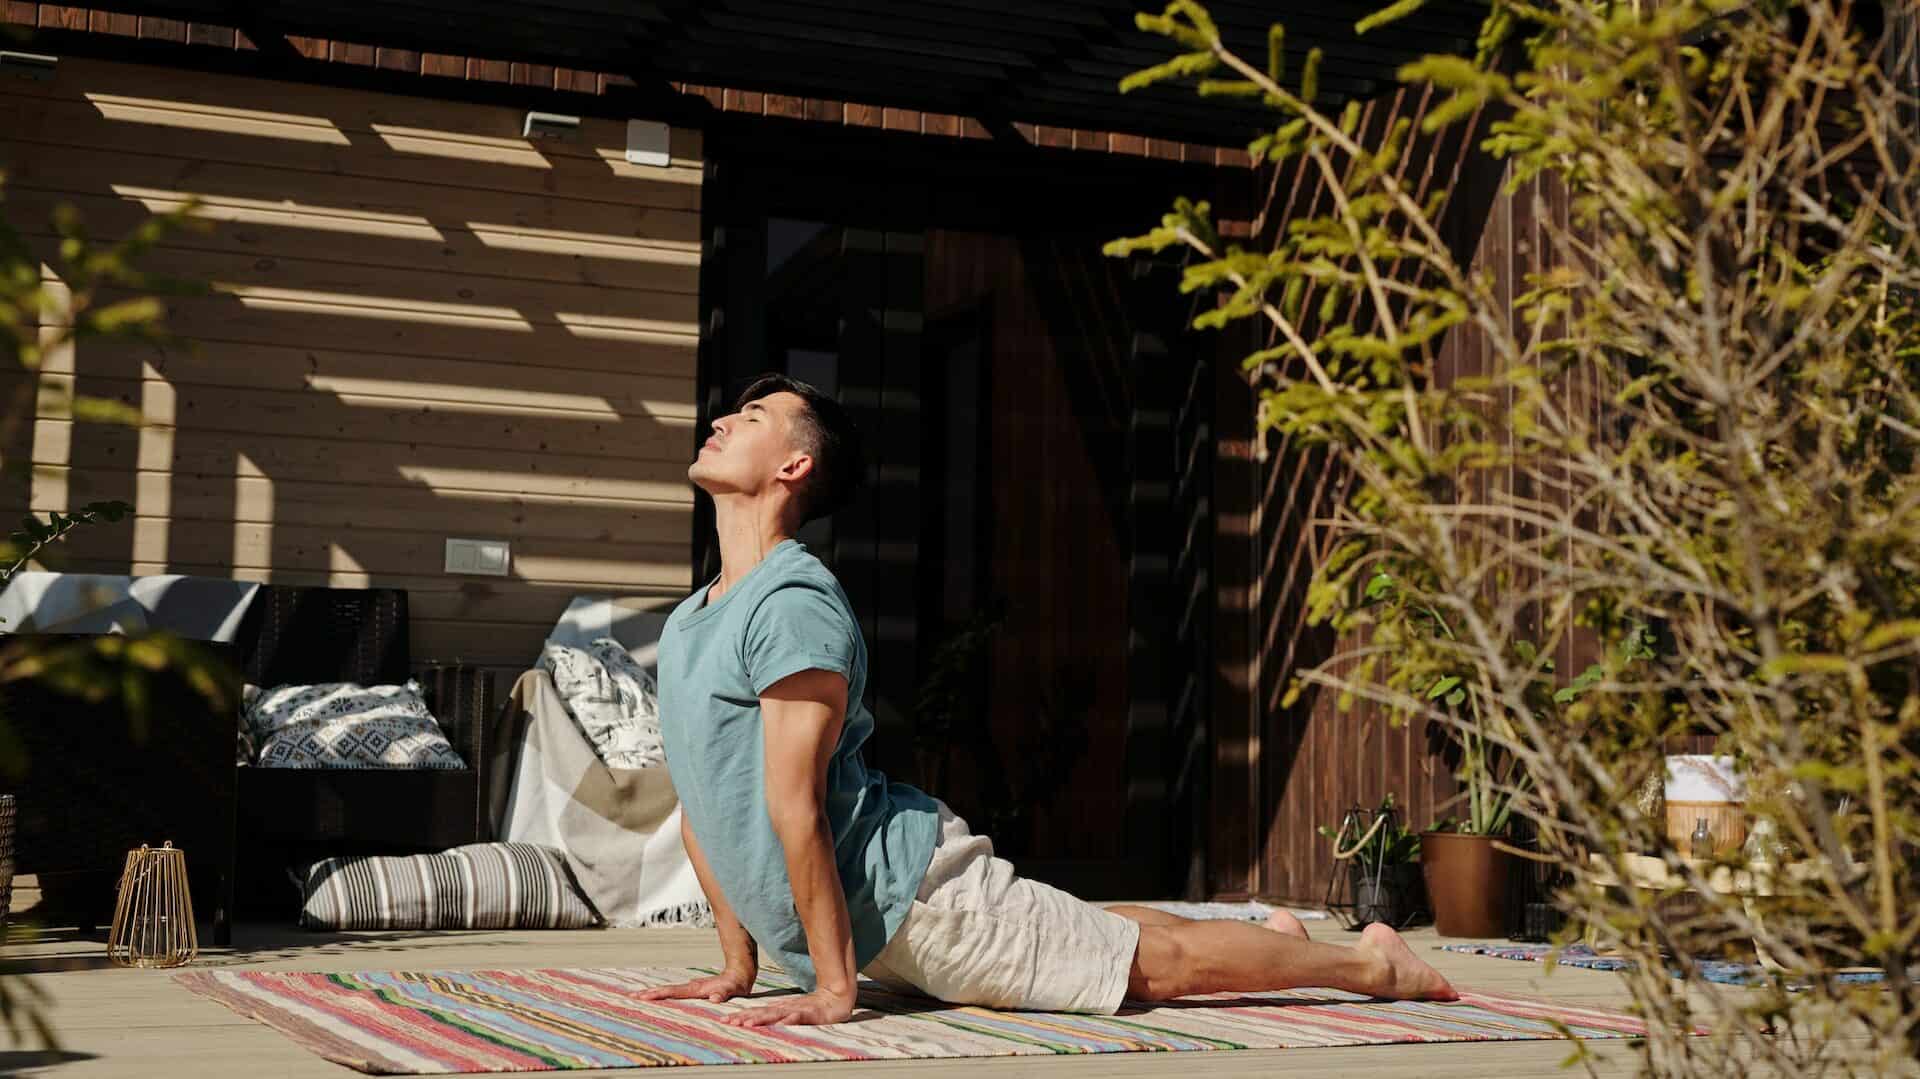
Completing Surya Namaskar A with Adho Mukha Svanasana
To complete the sequence, transition from Low Lunge pose through the Plank pose again before rolling over toes into Urdhva Mukha Svanasana (Upward-Facing Dog) during an inhale breath. Exhale as you lift your hips up and back into Adho Mukha Svanasana (Downward-Facing Dog), sealing this energizing practice.
The importance of synchronizing breath with movement
Synchronizing your breath with each movement in the Sun Salutation sequence is essential for maintaining a steady rhythm and harnessing the full benefits of this moving meditation. Proper breathing techniques, such as Ujjayi Pranayama, help focus your mind while enhancing oxygen flow. You create a seamless connection between body, mind, and spirit by coordinating inhalations and exhalations with specific postures.
Tips for smooth transitions between poses
- Maintain awareness: Keep your attention on both alignment cues and proper breathing patterns to ensure fluidity in transitioning from one posture to another.
- Use core strength: Engage your abdominal muscles when moving between poses, providing stability and support during transitions.
- Practice patience: Familiarize yourself with each posture’s unique nuances before attempting rapid or advanced sequences. As you gain experience, smoother transitions will naturally develop.
- Incorporate props if needed: Utilize yoga blocks or straps if necessary to assist in transitions and maintain proper alignment. Visit this guide to learn more about using props effectively.
By mastering the synchronization of breath and movement and incorporating these tips for smooth transitions, you’ll be able to experience the full benefits of Surya Namaskar A. This powerful sequence will enhance your physical well-being and promote mental clarity and spiritual growth.
Conclusion
By following this complete Sun Salutation Guide, you have learned the proper alignment and modifications for each pose in Surya Namaskar A. Incorporating these poses into your yoga practice can improve your physical well-being and help you connect with your breath and intentions.
Remember to always listen to your body and modify as needed, focusing on synchronizing breath with movement for a smooth flow. With regular practice, you will become more comfortable with the sequence and experience the benefits of this powerful yoga practice.